+1 Bite Per Click Beginner Guide: Your First Session
A beginner's first +1 Bite Per Click session: bite objects near spawn, haul loot back, sell it for cash, buy your first upgrade, then pick your next goal.
Your entire first session in +1 Bite Per Click is one loop: bite the weakest things near spawn until you're carrying what you can, head back, sell the loot for cash, and spend that cash on your first bite upgrade. Then you repeat it for bigger hauls. That's the whole opening game — the official description sums it up as train your Bite Strength, bite everything, collect loot and sell it, and unlock powerful teeth. This guide walks you through that first loop step by step, so nothing about it leaves you stuck.
One thing to know up front: the game barely explains itself. There's no tutorial — one new player's reaction on joining, "where exactly are we supposed to go?", is completely normal. You're not missing anything; the loop below is everything you need.
Your first minute: what to bite first
You spawn into the world with bite power 1, and the core action is already in the game's name: every click is a bite, turning your clicks into bite power that chews through objects.
- Ignore the giant numbers. Right near the spawn area you'll see objects with enormous requirements — one first-session player ran into a wall demanding 31 trillion. Walk past it; it's a far-later target, not a mistake on your end.
- Pick the plainest, smallest object nearby. The weakest starter objects crumble in one bite. Slightly stronger ones show a number — in a recorded first session, a "15" object broke only halfway and needed more clicking. The answer is the same either way: keep biting until it falls.
- Grow the number two ways. Active biting is the obvious one, but the official description also promises that you earn Bite Strength and Money while you're offline — so closing the game doesn't stall you (our offline earnings page covers what's known about it). There's also an Auto Play toggle once you want the game to chew on its own.
Collect the loot and sell it
When an object breaks, it drops loot items. Walk over them to pick them up as you go — that's the "collect" step.
Your starting carry limit is small. One recorded first session suggested it was only around three items at a time; whatever the exact number, the cue is the same — when items stop getting picked up, your pockets are full and it's time to head back. A dedicated carry capacity upgrade fixes this later.
Getting back and selling is where most first-timers hesitate, so here's the detail:
- Return to spawn. Walk back on foot, or use the visible Teleport to spawn button — it's the faster option once your trips stretch further out.
- Find the sell point, not the upgrade machines. Several machines stand near spawn, and they look similar. In that same first session the player clicked an upgrade machine by mistake — "Wait, this is to upgrade, bro. Selling is over here." The selling station is separate, and it's the one labeled Sell Loot.
- Sell and watch the prices. Each item shows its value at sale. The recorded first haul sold a metal piece for $20, a plastic duck for $18 and a fire extinguisher for $1 — about $52 total, which landed as spendable cash on the spot. Once you're hauling bigger piles, bulk selling appears too (a later session sold with a single "Sell all 37" prompt).
If you want the selling station, prices and hauling rhythm covered in more depth, see how to sell loot.
Your first upgrade decision: bites now, teeth later
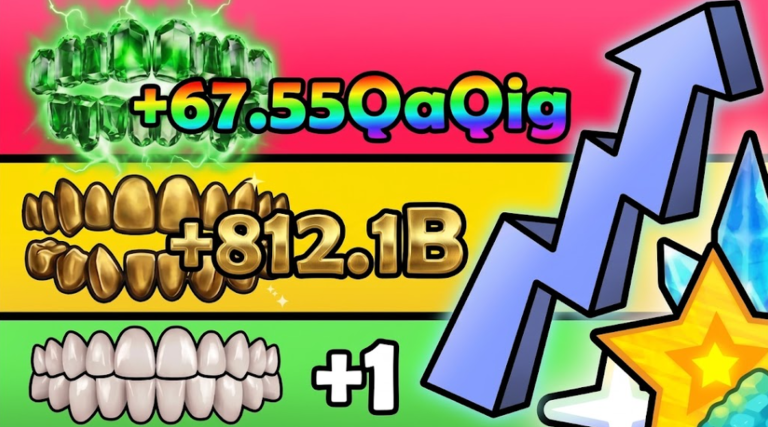
With roughly $52 in hand, walk the shop row near spawn and read what each machine actually is: one joins the game's group, several goods are Robux-only, and the teeth machine wants $100,000 — wildly out of reach on your first payout. The machine you can actually use is the bites one: in the recorded session it offered +5 bites for $5, taking the player from one per bite to five per bite.
That's the beginner rule: buy the bites you can afford now; teeth are the long-range goal. New teeth need both enough Bite Strength and enough money, so every loop you run grows exactly the two resources the teeth shop asks for. By the way, timed boosts do happen — that session had a 2x-cash window (about 15 minutes) running — but treat them as a bonus, not a plan.
What to chase after the first loop
Repeat the same loop — and it pays off quickly. In that one recorded first session, hauls grew from about $52 to roughly $700 and then $2,000 per trip, partly by skipping the $1 junk and prioritizing the $50–$120 gold and iron pieces instead. Between trips, the game surfaces concrete goals you can act on:
- Timed gift boxes at spawn. They open on 1-minute and 2-minute timers, and the drops climb in rarity — one session pulled a rare pig, an epic diamond and a legendary crown from them.
- The upgrade board. Bites raise how much you chew per click. Auras stack a bite multiplier on top (one was priced at $200,000, with a backpack at $500,000, in that run). Carry Capacity means fewer run-backs to the sell point, and Walkspeed cuts travel time between stages — both directly speed up the loop you just learned.
- Rebirth. A visible level bar gates it, and the rebirth prompt shows the rewards before you commit, along with a Skip Rebirth option if you'd rather hold off. In a recorded first session, a player at level 28 saw the requirement displayed as 25, rebirthed, and got a 1.5x bite-power multiplier with their level reset to 1 — but your bar may read differently, so trust what your own screen shows. One honest caveat: players disagree about what rebirth costs — one refused to rebirth mid-run expecting to lose all their money, while a written guide describes it purely as resetting Bite Strength in exchange for the multiplier. Read the prompt's reward list before confirming, and see our rebirths page for more.
- After any reset: stand on the bite multiplier platforms and click — strength climbs back far quicker there than out in the open, and the on-screen prompts nudge you toward the next upgrade as you go.
Also worth a minute early on: the Codes button sits in the icon row at the top right of the screen, and our +1 Bite Per Click codes page keeps the currently working list.
Run the loop a few more times and you've outgrown the beginner stage. When you're ready for a speed-optimized, multi-stage route instead of a first session, that's the job of our noob to master walkthrough — but master this bite-and-sell cycle first, and every later guide will make sense.
Related Guides
Bite Strength: How to Increase It
Learn what Bite Strength does, the five verified ways it increases, and what each new tier unlocks for you.
How to Sell Loot at the Sell Point
Teleport back from a run, sell your whole load at the spawn point, and confirm the sale by your Money counter.
Codes: Official List and How to Redeem
See every officially listed code with its dated verification label, learn where to redeem it, and read failure messages correctly.
Loot: Drop Sources and How to Collect Them
Find where loot comes from — broken walls, playtime boxes, spawn gifts and Lucky Blocks — and how pickup and selling work.